
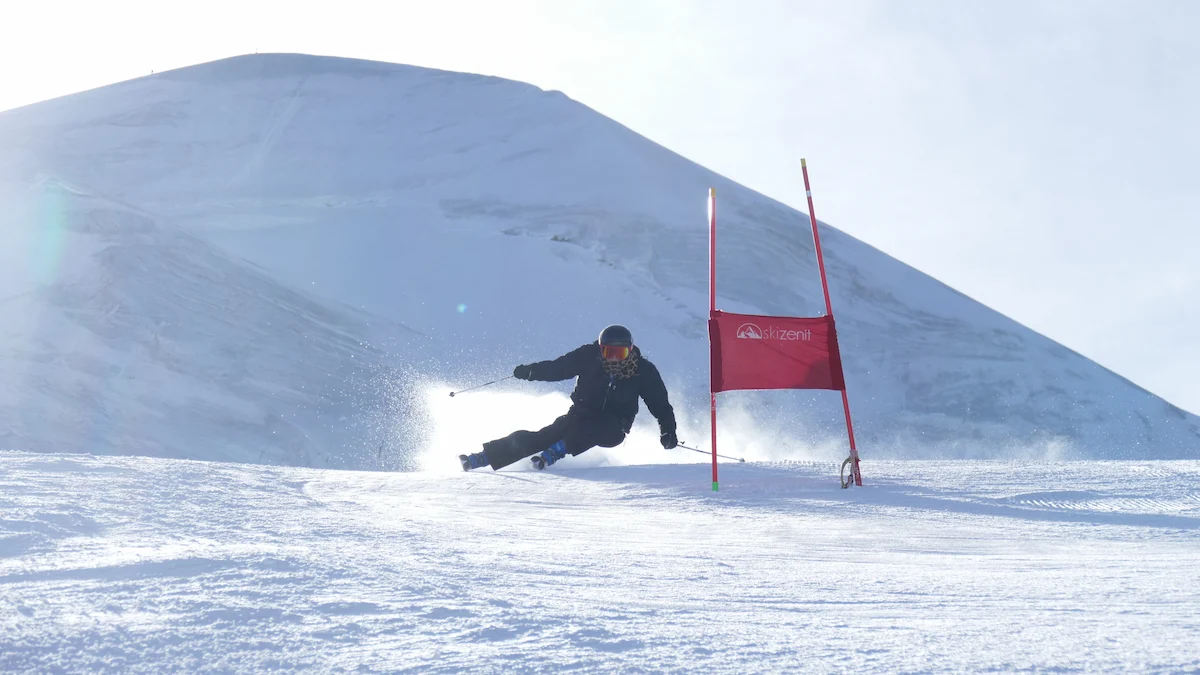
In the world of competitive ski racing, the margin between victory and a spot off the podium can be measured in hundredths of a second. While an athlete’s physical conditioning, mental fortitude, and technical skill are paramount, they can all be undermined by poorly prepared equipment.
The interaction between your skis and the snow is a complex dance of physics, and mastering the art of ski preparation is as crucial as mastering the turns on the course. This is not just about maintenance; it is about transforming a good pair of skis into a precision tool engineered for specific conditions and a specific goal: speed.
Many racers, especially those in the developmental stages of their careers, often overlook the profound impact that a well-tuned and properly waxed ski can have on their performance. They might rely on a generic shop tune or a one-size-fits-all wax application, not realizing the competitive disadvantage they face.
The truth is, elite-level ski preparation is a science. It involves understanding the properties of snow, the geometry of a ski’s edge, the structure of its base, and the chemical composition of waxes. It requires a systematic approach, attention to detail, and a willingness to test and learn.
This comprehensive guide is designed to demystify the process. We will explore the foundational principles of ski tuning and waxing, moving from the essential tools and concepts to advanced techniques used by World Cup athletes.
Whether you are a U14 athlete just getting serious about racing, a parent trying to support your child’s passion, or a Masters racer looking for that extra edge, the information here will provide you with the knowledge to take control of your equipment preparation. By understanding the ‘why’ behind each step, you can make informed decisions that translate directly to faster times on the hill. It’s time to stop leaving speed on the tuning bench and start unlocking your true potential.
Foundations of a fast ski: Base and edge essentials
Before a single drop of wax touches your skis, the foundation must be perfect. This foundation consists of two key components: the base structure and the edge geometry. A flat, well-structured base ensures the ski can glide efficiently, while precisely angled and sharpened edges provide the grip and control needed to carve clean, powerful turns.
Neglecting these elements is like building a house on a crooked foundation; no matter how well you decorate it, it will never perform as it should. The goal is to create a surface that is both incredibly fast in a straight line and surgically precise when on edge.
Think of the base as the engine of your ski and the edges as the steering and suspension. A fast engine is useless without control, and great handling means nothing if you’re slow on the flats. Both systems must work in perfect harmony. This initial preparation phase is the most critical and often requires specialized tools and a practiced hand.
While daily waxing can be done relatively easily, establishing the correct base and edge bevels is a more involved process that sets the stage for season-long performance. Let’s delve into what makes a truly race-ready foundation.
Content
Understanding base structure and flatness
The base of a racing ski is not a perfectly smooth surface, nor should it be. Under a microscope, a well-prepared base has a fine, detailed pattern ground into it, known as its structure. This structure’s purpose is to manage the thin layer of water created by friction between the ski and the snow. In freezing, dry snow, this water layer is minimal, so a fine, linear structure is needed to break suction and improve glide.
In warmer, wetter snow, more water is generated, requiring a coarser, more complex structure (like a broken or cross-hatched pattern) to channel the excess water away and prevent the ski from feeling “sticky.”
Equally important is base flatness. A ski base must be perfectly flat from edge to edge. If the base is concave (hollow in the middle), the ski will feel “railed,” making it difficult to initiate a turn and release from it smoothly. If the base is convex (high in the middle), the edges won’t engage properly, leading to a ski that feels vague and lacks grip.
A true bar and feeler gauges are used to check for flatness. If imperfections are found, a stone grind from a reputable race shop is necessary to reset the base, making it perfectly flat and imparting the desired structure for the prevailing conditions. This process also removes old, oxidized base material and opens up the pores of the P-Tex to better absorb wax, a critical step detailed in any professional ski tuning waxing guide race preparation manual.
For the dedicated racer, having skis ground for different conditions can be a significant advantage. One pair might have a fine, linear grind for cold, mid-winter races, while another has a more aggressive, broken structure for warm spring conditions. This level of preparation ensures that you always have the optimal setup for the snow you’re competing on, eliminating a major variable and allowing you to focus purely on your skiing.
The science of edge geometry: Base and side bevels
Edge geometry is a game of angles, and getting them right is non-negotiable for high-performance skiing. Two primary angles define a ski’s edge: the base bevel and the side bevel. The base bevel is the angle at which the edge is tuned away from the snow on the base side.
A typical base bevel for a race ski is between 0.5 and 1.0 degrees. This slight lift prevents the edge from being overly “grabby,” allowing the ski to glide smoothly and pivot easily when not fully engaged. Without a base bevel, the ski would feel hooked up all the time, making it nearly impossible to ski cleanly.
The side bevel, or side edge angle, is the angle on the vertical side of the ski. This is what determines how much bite the edge has in the snow. Race skis typically use side edge angles from 2 to 4 degrees (which corresponds to 88 to 86 degrees on a file guide). A more acute angle (like 4 degrees) provides incredible grip on hard, icy surfaces but can be more challenging to manage and requires more frequent sharpening.
A less acute angle (like 2 degrees) is more forgiving and durable but may not offer the same tenacity on sheer ice. The choice depends on the discipline, snow conditions, and athlete’s preference. Slalom skiers on injected courses often opt for more aggressive angles, while Giant Slalom and Super-G skiers might use slightly less to promote a smoother, cleaner arc.
Creating and maintaining these angles requires precision tools. Fixed-angle file guides, diamond stones of varying grits, and a steady hand are essential. The process involves setting the base bevel first, then working the side edge. It’s a meticulous process of removing material carefully to create a sharp, smooth, and burr-free edge at the exact desired angles.
This precise geometry is what allows a racer to trust their outside ski completely, enabling them to generate high edge angles and immense pressure through the turn, which is the very essence of modern carving technique.
The heart of speed: A deep dive into ski waxing
With a perfectly flat, structured base and surgically sharp edges, the ski is now a blank canvas ready to be transformed into a speed machine. This transformation happens through waxing. The purpose of waxing is twofold: first, it protects the ski base from oxidation and abrasion, and second, and more importantly for racing, it dramatically reduces friction between the ski and the snow.
The P-Tex material of a ski base is porous, and hot waxing fills these pores with a hydrophobic (water-repelling) substance. This allows the ski to glide on that microscopic layer of meltwater with maximum efficiency.
The world of ski wax is incredibly diverse and complex, with countless formulations designed for specific snow temperatures, humidity levels, and snow crystal types. Understanding these variables and choosing the right wax is a critical skill for any competitive racer.
It’s not just about applying any wax; it’s about applying the *right* wax in the *right* way. This section will break down the different types of waxes, the essential tools for the job, and the step-by-step process for achieving a world-class wax finish. This is where races are often won or lost before the athlete even steps into the starting gate.
Choosing the right wax: Temperature, humidity, and fluoros
The most fundamental factor in wax selection is snow temperature. Waxes are categorized by their optimal temperature ranges, which are always printed on the packaging. Using a wax that is too hard for the conditions (a cold-temp wax in warm snow) will result in poor glide because it can’t properly interact with the higher moisture content.
Conversely, using a wax that is too soft (a warm-temp wax in cold snow) will cause the ski to feel slow and sluggish, as the sharp, dry snow crystals will penetrate the soft wax, creating mechanical friction. It is crucial to use a reliable snow thermometer to get an accurate reading and select a wax whose range matches the conditions.
Humidity is the next critical variable. Basic hydrocarbon (CH) waxes are great for general training and low-humidity conditions. However, as humidity increases, the water content in the snowpack rises, creating more suction. This is where fluorinated waxes come into play. Low-Fluoro (LF) and High-Fluoro (HF) waxes contain additives that are extremely hydrophobic.
They actively repel water, breaking the suction and significantly improving glide in humid or wet snow. The higher the humidity, the more beneficial a higher concentration of fluoro will be. Our team at Ski Zenit has seen firsthand how the correct fluoro application on a damp day can make a night-and-day difference in an athlete’s split times.
The pinnacle of glide waxing involves pure fluorocarbon overlays, which come in powder, block, or liquid form. These are applied as a final top coat over an appropriate HF base wax. While regulations in some racing federations have changed regarding the use of certain fluorocarbons (specifically C8 compounds), new, environmentally compliant high-performance waxes are constantly being developed.
These topcoats provide the ultimate in water repellency and dirt resistance, offering a measurable advantage for the short duration of a race run. Testing different combinations of base waxes and overlays is a key part of pre-race preparation for any serious team.
The waxing process: From cleaning to final polish
A perfect wax job is a systematic process that requires patience and the right tools. The first step is always to clean the base. Before applying new wax, the old wax, along with any dirt and grime it has collected, must be removed. This is best done by applying a soft, generic hydrocarbon wax with a hot iron and then scraping it while it’s still warm. This “hot scrape” pulls impurities out of the base’s pores, leaving a clean surface ready to accept the new race wax.
Next comes the application of the wax of the day. Using a dedicated waxing iron with an accurate temperature control, the wax is dripped onto the base. The iron is then used to smooth the wax evenly from tip to tail. The key here is to keep the iron moving at a slow, consistent speed. Letting it sit in one spot for too long can burn and permanently damage the P-Tex base.
The goal is to heat the base just enough for it to absorb the wax deeply. After ironing, the ski should be allowed to cool completely to room temperature, a process that can take at least 30 minutes and ideally several hours. This cooling period allows the pores of the base to close, trapping the wax inside.
Once cooled, the excess wax must be removed. This begins with a sharp plastic scraper. Hold the scraper at a 45-degree angle and pull it from tip to tail in long, overlapping strokes until no more wax comes off. The wax that speeds you up is the wax *in* the base, not the wax *on* the base. After scraping, it’s time to brush. This is a multi-stage process that clears the structure of the base.
Start with a stiff brush (like brass or steel) with light passes to open up the structure. Follow this with a medium brush (like a stiff nylon) to continue clearing wax, and finish with a soft brush (like a horsehair or fine nylon) to polish the base to a high sheen. Each brush stroke should be from tip to tail. The result should be a smooth, shiny base with a clearly visible structure, ready to glide with minimal friction.
Advanced techniques: Layering and hardening
For the highest levels of competition, a single layer of wax is often not enough. Advanced waxing involves layering different waxes to create a more durable and faster base. A common technique is to first apply a harder, colder-temperature wax as a base layer. This hard wax bonds well with the P-Tex and provides a durable foundation that is resistant to abrasion from aggressive, sharp snow crystals. This initial layer is fully scraped and brushed before the next layer is applied.
Over this hard base layer, the wax of the day (the wax that matches the snow temperature and humidity) is then ironed in. This second layer provides the primary glide properties for the specific conditions.
Because it is bonded to the harder wax underneath, it will last longer throughout the race run, especially in disciplines like GS or Super-G where the ski is on edge for extended periods. This layering technique ensures that your skis are still fast at the bottom of the course, not just at the top.
Furthermore, some wax technicians use a process called “hardening” for extremely cold and abrasive conditions. This involves ironing in a very hard synthetic paraffin or graphite wax, letting it cool, and then reheating it multiple times (a process known as “cycling”).
This process super-saturates the base with a durable wax that can withstand the friction of frigid, dry snow. While time-consuming, these advanced methods are part of the “secret sauce” that gives top racers their equipment advantage. It requires experimentation and meticulous note-taking to determine which combinations work best for a particular athlete and set of conditions.
Race day preparation and course-side adjustments
The work isn’t finished once the skis are waxed in the tuning room. Race day brings its own set of challenges and variables. Weather can change rapidly, and what seemed like the perfect wax choice the night before might be less than optimal by the time you’re in the start gate.
Being prepared for these changes and knowing how to make quick, effective adjustments on the hill is a hallmark of an experienced racer and support team. This final phase of preparation is about reacting to the immediate environment and ensuring the skis are in perfect condition for the two most important minutes of the day.
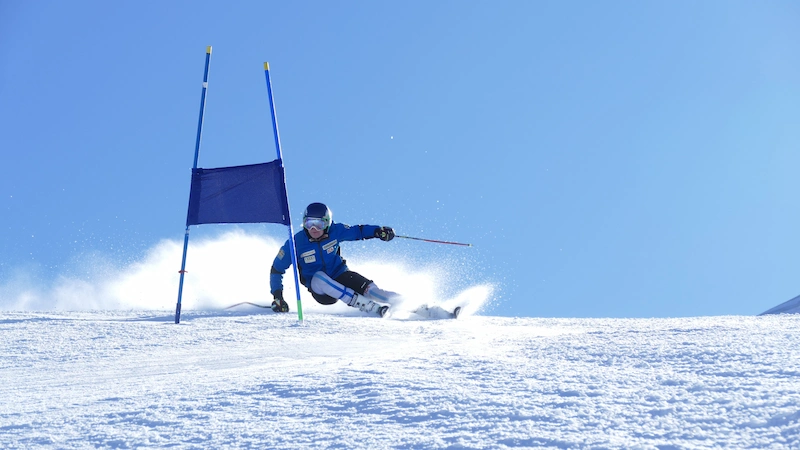
This involves a final check of the edges, a last-minute application of a top coat, and a keen eye on the changing snow conditions throughout the day. It’s about having a small, portable kit with the essentials and understanding how to use them effectively without compromising the foundational work you’ve already done. Small details at this stage can make a surprising difference. A quick touch-up of the edges after inspection or a wipe-on liquid overlay can be the key to finding that extra tenth of a second.
The morning routine: Final checks and polishing
On the morning of the race, the first step is a final inspection of the skis. Check the edges for any new burrs that may have appeared during transport. Run a finger carefully along the edge; it should feel smooth and consistently sharp. If any imperfections are felt, a quick, light pass with a fine diamond stone or a ceramic stone can remove them without altering the established bevels. This is not the time for aggressive filing, only for delicate polishing.
Next, give the bases a final brush. Even a perfectly waxed ski can collect dust overnight. A few vigorous passes with a soft horsehair or fine nylon brush from tip to tail will clean the structure and give the base a final polish, enhancing its glide. This simple step can significantly improve the initial acceleration out of the start gate. Many top athletes will keep their skis in a ski bag until the last possible moment to prevent any contamination of the base.
This is also the time to consider the ambient temperature versus the snow temperature. Sometimes, a ski that has been sitting in a warm condo overnight will perform differently than one that has acclimated to the colder outdoor temperature.
Whenever possible, allow your skis to sit outside (in a secure location) for at least 30 minutes before the race to allow the base and wax to reach the same temperature as the snow. This ensures the wax performs as intended from the very first turn.
Course-side solutions: Overlays and edge touch-ups
Once on the hill, observation is key. How is the snow changing as the sun comes up? Is it getting wetter and softer, or is the track staying firm and icy? These observations will dictate any last-minute adjustments. For this reason, every racer should have a small kit at the start containing a few essential items: a diamond stone, a ceramic stone, a cork, and perhaps a liquid or paste overlay.
If, during course inspection, you notice the snow is starting to get “grabby” or humid, a quick application of a liquid fluoro overlay can be a race-saver. These products are designed for easy, rub-on application.
A few drops are spread evenly along the base, allowed to dry for a few minutes, and then polished vigorously with a dedicated hand cork or felt block. This adds a final, super-hydrophobic layer that can dramatically improve glide in changing conditions without requiring a full hot wax.
Similarly, if you feel a slight lack of grip or a tiny burr on your edge after a warm-up run, a quick, gentle touch-up with a fine diamond stone can restore that perfect, sharp feel. The key is to be subtle. Overworking the edges on the hill can do more harm than good.
These are minor adjustments, not a full retune. Having the confidence and knowledge to make these small tweaks can provide a significant mental and performance boost right before you step into the start gate.
| Condition | Base structure | Edge bevels (Base/Side) | Recommended wax strategy |
|---|---|---|---|
| Cold, dry snow (-12°C and below) | Fine, linear structure | 0.5° / 3° | Hard, cold-rated hydrocarbon or low-fluoro wax. Consider a hardened synthetic base layer. |
| Mid-range winter (-12°C to -4°C) | Standard linear or fine cross structure | 0.7° / 3° | Mid-range hydrocarbon or LF/HF wax depending on humidity. Layering is effective here. |
| Warm, wet snow (-4°C and above) | Coarse, broken (cross-hatch) structure | 1.0° / 2-3° | Soft, warm-rated high-fluoro (HF) wax. Pure fluoro powder or liquid overlay is highly recommended. |
| Injected/Icy surface | Fine, linear structure (for density) | 0.5° / 4° | Very hard, cold-rated wax for durability, often with a fluoro block overlay rubbed in for glide. |
Building a consistent tuning routine
Achieving consistent results in ski racing requires a consistent approach to everything, including equipment preparation. Developing a repeatable, methodical tuning routine is just as important as having a consistent warm-up or course inspection process.
It eliminates guesswork, reduces the chance of errors, and builds confidence in your equipment. When you stand in the start gate, you should have zero doubt that your skis are as fast as they can possibly be. This confidence allows you to focus 100% on your performance.
A good routine is built on a schedule and a meticulous record-keeping habit. It involves post-skiing care, regular maintenance, and detailed pre-race preparation. By turning these tasks into habits, they become a natural part of your life as a ski racer, rather than a chore.
This disciplined approach is what separates good athletes from great ones. The quest for speed is a cumulative effort, and every step in the tuning process is a small deposit into your performance bank.
Post-skiing care: The first step to longevity
The tuning process for your next session begins the moment you finish your last run. As soon as you take your skis off, wipe them down with a clean, dry cloth. This removes excess snow and water, preventing your edges from developing surface rust.
Rust not only dulls the edges but can also be difficult to remove, requiring more aggressive filing that shortens the life of the ski. Use a gummy stone to gently detune the very tip and tail (the areas outside the contact points) to prevent chipping and make the ski less “hooky.”
Once the skis are dry, it’s a great practice to apply a layer of storage or travel wax. This is typically a soft, inexpensive hydrocarbon wax that is ironed on but not scraped off. This layer serves two purposes: it protects the bases from dirt and oxidation, and it keeps them saturated and “fed,” preventing them from drying out.
When it’s time for your next tuning session, you simply scrape this protective layer off and begin your race-specific waxing process on a clean, healthy base. This simple habit will significantly extend the life and performance of your skis.
Record keeping: Your performance logbook
The most successful racers and technicians are meticulous note-takers. It’s impossible to remember the exact combination of structure, bevels, and waxes that worked perfectly on a cold, sunny day in January three months later. That’s why a tuning logbook is an invaluable tool. For each session or race, record the key details:
- Date and location.
- Air and snow temperature.
- Humidity and snow conditions (e.g., new, old, man-made, icy).
- Wax combination used (base layers, race wax, overlays).
- Edge bevels.
- Your subjective feeling on the snow (e.g., “fast on flats,” “great grip,” “a bit sticky”).
- Race results or training performance.
Over time, this logbook will become your personal performance database. You’ll start to see patterns emerge. You’ll discover that a particular wax combination excels in specific conditions at a certain venue. This data-driven approach removes subjectivity and allows you to make future tuning decisions based on proven past performance.
It transforms tuning from a guessing game into a repeatable science, and this is a core principle of our training philosophy at Ski Zenit. A detailed logbook is one of the most powerful tools in a racer’s arsenal, providing a roadmap for creating the fastest possible skis for any given race day, a true cornerstone of any effective ski tuning waxing guide race strategy.
Are you ready to take your competitive skiing to the next level? The details matter, and the knowledge you’ve gained here is your first step toward mastering your equipment. To truly translate this knowledge into podium-worthy performance, join our competitive skiing program, where we integrate advanced equipment preparation directly into our curriculum.
Let us help you perfect your technique, master gate tactics and course strategy, or visit one of our competitive skiing camps for hands-on professional training and personalized advice on the equipment and preparation that will help you win.